+251 99 380 2995 | +251 97 022 2227 | [email protected]
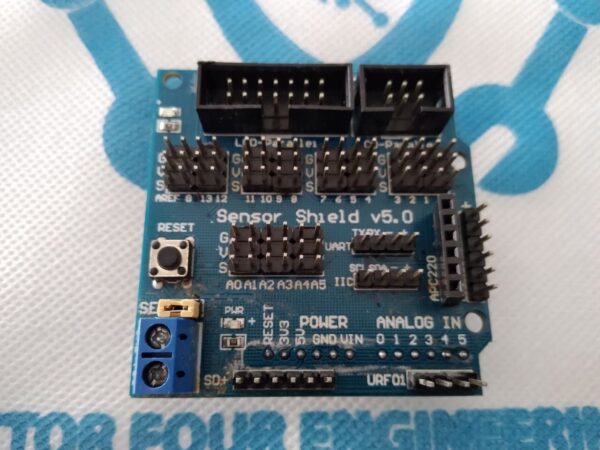
SENSOR SHIELD
Br 350.00
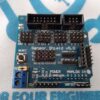
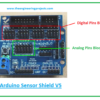
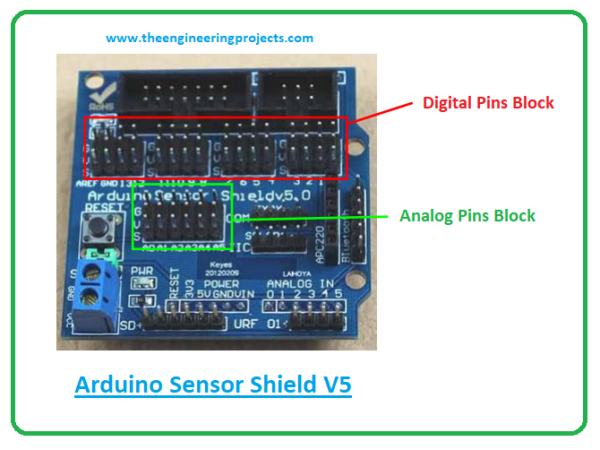
- The Arduino Sensor Shield V5.0 is used to connect sensors, servos, buttons, relays, and potentiometers with the Arduino Board.
- Incorporates IIC interface
- Comes with RB URF v1.1 ultrasonic sensors interface
- It is compatible with Arduino UNO and Mega Boards
- Contains Bluetooth module communication interface
- Carries SD card module communication interface
- Contains APC220 wireless RF module communication interface
- Carries 32 servo controller interface
- Contains 128 x 64 LCD parallel interface
- Arduino Sensor Shield is a board compatible with the Arduino Boards and comes with the standard header layout. It is used to connect sensors, servos, LCD with the Arduino board without soldering. This board is connected with the Arduino Board using the jumper wires.
- Arduino Sensor Shield is a board used to connect sensors, servos, LCD with the Arduino Board without the requirement of soldering.
- Using Arduino Board separately you’ll find a few of 5V and GND connections. Arduino Sensor Shield gives you the ability of dedicated one 5V and GND connection for every Arduino signal pin.
- The V5 latest sensor shield comes with an external power connector, helping you get rid of the overloading of the Arduino board while working with too many actuators and sensors.
- The 3-way male pin header is used to connect servo motors with the Arduino Board. This is a plug and play device. You can read data from the sensors connected with the shield and use it to drive servo motors with the Arduino boards.
When it comes to connecting the sensor shield with sensors and output devices, power pins must be connected the right way as follows
- G goes to 0V or G or Gnd or GND on the sensor
- V goes to 5V or V or Vcc or VCC on the sensor
- S goes to the signal pin – IN or OUT
- Some output-devices and sensors come with 2 signal pins (or more) with two or more 0V & 5V.
- In that case pick one of the signal pins to connect the Signal, 0V, and 5V with the S, G, and V pins on the sensor shield and choose the S pins on another port for establishing the other signal connections.

